Tattoo size and placement chart
Tap a placement to see the usual tattoo size for it, then print the design or a size check sheet at real size and hold it against your skin.
 3.50 in3.50 in
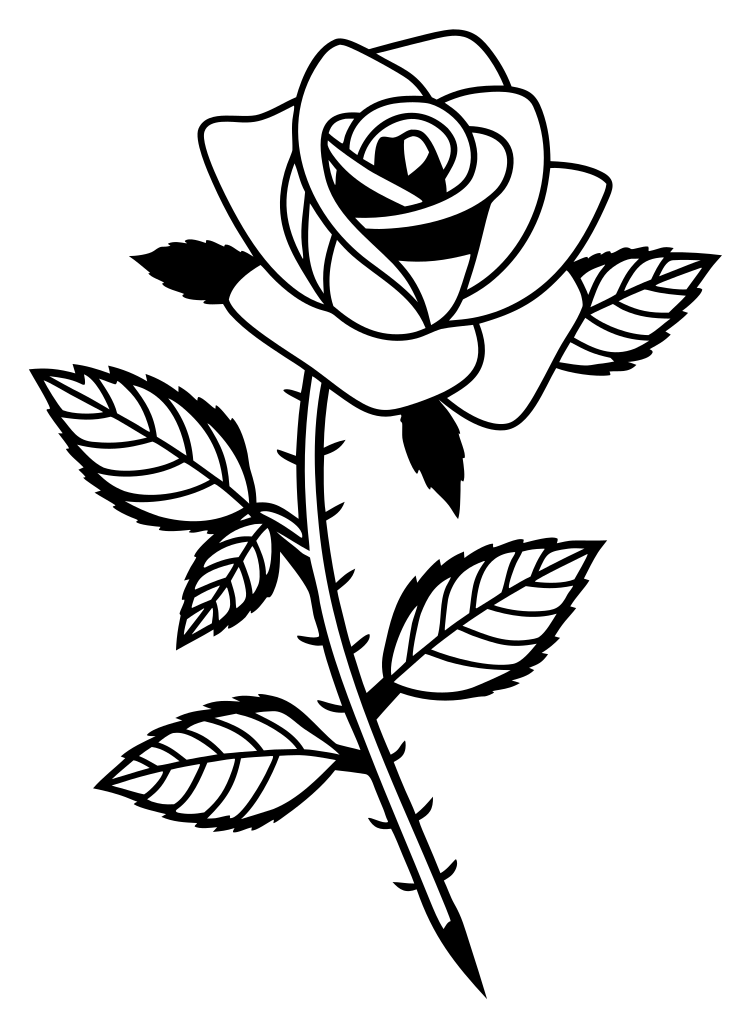
Single rose with stem
How these drawings are made. Every design starts as an AI-generated image. The stencilfolio editors pick the usable ones, clean up the lines and check that each file prints at the size you set. Each file is labeled as AI-generated in its metadata.
About the process →Squares from 1 to 6 inches, to hold against your skin
Nested squares at 1, 2, 3, 4, 5 and 6 in, a US quarter and a bank card for scale, and a ruler in inches and centimeters. Print at 100% and measure the 1 inch square first.
§1Tattoo size chart by placement
Size here is the long side of the design, so a 4 in rose is 4 in tall and may be narrower.
| Placement | Usual size | In cm | Calculator starts at |
|---|---|---|---|
| Wrist | 1–3 in | 2.5–7.6 cm | 2 in |
| Ankle | 1–3 in | 2.5–7.6 cm | 2 in |
| Neck | 2–4 in | 5.1–10.2 cm | 3 in |
| Calf | 2–6 in | 5.1–15.2 cm | 4 in |
| Forearm | 3–6 in | 7.6–15.2 cm | 4 in |
| Chest | 3–10+ in | 7.6–25.4+ cm | 5 in |
| Back | 4–10+ in | 10.2–25.4+ cm | 7 in |
| Thigh | 4–10+ in | 10.2–25.4+ cm | 7 in |
The table stops at 10 in because the calculator does. Published charts go bigger on the back, chest and thigh; a design larger than one sheet prints across several sheets.
Ranges come from the size charts by Saved Tattoo and Inkjin. Treat them as a starting point, not a rule.
§2Tattoo sizes in inches, from 1x1 to 6x6
A 2x2 tattoo fits in a square 2 inches on each side, about 5 cm.
| Size | cm per side | About as big as | Class |
|---|---|---|---|
| 1×1 in | 2.5 | A little wider than a US quarter (0.955 in) | Tiny |
| 2×2 in | 5.1 | Two quarters side by side, or just under the short side of a bank card (2.13 in) | Small |
| 3×3 in | 7.6 | A little shorter than the long side of a bank card (3.37 in) | Small |
| 4×4 in | 10.2 | The long side of a bank card plus 0.6 in | Medium |
| 5×5 in | 12.7 | One and a half bank cards end to end | Medium |
| 6×6 in | 15.2 | Nearly the length of a dollar bill (6.14 in) | Large |
Area grows faster than the label. A 4x4 covers 16 square inches, four times the skin of a 2x2.
“Quarter size” usually means about 1 in, the width of a real quarter, though some charts use it for anything up to 2 in. “Palm size” is looser still: about 3–4 in in one chart and about 4 × 5 in in another. Palms differ, so measure yours and give your artist a number in inches.
Object sizes from the US Mint (quarter), ISO/IEC 7810 (ID-1 bank card, 85.60 × 53.98 mm) and the Bureau of Engraving and Printing (dollar bill). Quarter and palm size as used by Hyperinkers, Minh Pham Tattoo and Inkjin.
§3Tattoo placement names
A placement name is a body part plus a side. Inner or outer forearm, front or back of the shoulder: the side tells the artist which surface you mean.
| Zone | Placement | Usual class |
|---|---|---|
| Hand and arm | Finger | Tiny |
| Hand and arm | Wrist | Tiny to small |
| Hand and arm | Inner or outer forearm, inner bicep, outer upper arm | Small to medium |
| Hand and arm | Shoulder cap, front or back of the shoulder, shoulder blade | Medium |
| Hand and arm | Half sleeve (shoulder to elbow, or elbow to wrist), full sleeve | Large |
| Head and neck | Behind the ear | Tiny |
| Head and neck | Nape (back of the neck), side of the neck | Small |
| Torso | Collarbone, sternum | Small to medium |
| Torso | Chest, ribs, hip, upper or lower back, full back | Medium to large |
| Leg | Thigh (front, outer or inner) | Medium to large |
| Leg | Calf, shin | Small to medium |
| Leg | Ankle | Tiny to small |
The classes follow the scale used across this site: tiny under 2 in, small 2–4 in, medium 4–6 in, large 6 in and up.
Placement names from guides by Tattooing 101, Hyperinkers and Saved Tattoo.
§4How to choose a size and placement
Start from the detail. Ink spreads a little under the skin over the years, so lines thicken and gaps close. A bold, simple symbol holds up at about 1 in, but fine lines and small lettering need more room, or they blur into a dark smudge. Letters also need space between them to stay readable. For a tiny piece, start with the small designs.
Then check the shape of the spot. A design that runs along a forearm or a calf keeps its shape when the muscle moves, and one laid across a curve pulls out of line. Bend the nearest joint and look at the spot. Skin over an elbow or a knee creases and stretches all day, and placement guides warn that fine detail there loses its sharpness sooner, so bold lines suit those spots.
Visibility comes next. Picture the spot under your work clothes and your gym clothes. A wrist or a forearm shows whenever your sleeves are up. For a hidden tattoo, the thigh, hip, ribs and back stay covered most of the day.
If you might want a sleeve one day, place the first piece with it in mind. Sleeve guides call the elbow and the inner arm the hardest spots to fill later, along with the gaps between pieces. Tall designs join up best, which is why the sleeve designs here are drawn vertical.
For a first tattoo, placement guides most often suggest the forearm, the upper arm or shoulder, the outer thigh or the upper back. Starting small leaves room: a tattoo can be added to later, not shrunk. The simple designs are made of a few clean lines and suit a first piece.
Advice here follows guides by Inkjin (ink spread, 1 in minimum), Tattooing 101 (lettering), Hyperinkers (flow, joints, visibility, sleeves) and Authority Tattoo (planning a sleeve).
§5Check the size on your body
- Tap a placement in the calculator above, or set the size with the slider. Switch Mirror off so the paper reads as drawn.
- Download the PDF and print it at 100% or “Actual size”, with “Fit to page” off.
- Measure the 1 inch test square. If it isn’t 1 inch, the printer scaled the page: fix the setting and print again.
- Cut out the design and hold it on the spot in front of a mirror. Then bend the nearest joint and look again.
No design yet? The size check sheet has nested squares from 1 to 6 in, a quarter and a bank card for scale, and a ruler in inches and centimeters.
Don’t judge size on a screen: phones and monitors show the same drawing at different sizes. Only a print with a correct test square is true to size. The calculator uses R-01 from the rose stencils. Any design in the stencil catalog prints the same way, and so does your own photo or drawing in the stencil maker.
Bring the printout or the size in inches to your consultation. The artist makes the final stencil and places it, and that is when the placement gets fixed. If it sits wrong, say so before tattooing starts: a stencil can be wiped off and put on again.
On placing the stencil: Hyperinkers, Ultimate Tattoo Supply and Worldwide Tattoo.
§6Questions
Q1What size is a 2x2 tattoo?
A 2x2 tattoo fits in a square 2 inches on each side, about 5 × 5 cm. That is roughly two quarters side by side, a little less than the short side of a bank card, and it suits a wrist, an ankle or the neck.
Q2How big is a palm size tattoo?
There is no fixed size. Charts put it at about 3–4 in, the area of an adult palm without the fingers, and some go up to about 4 × 5 in, so measure your own palm and use that number.
Q3How big is a quarter size tattoo?
About 1 inch across, since a US quarter measures 0.955 in (24.26 mm). Some charts stretch the term to anything under 2 in, so agree on a number in inches with your artist.
Q4What size should my first tattoo be?
Big enough for its detail. A simple, bold symbol works from about 1 in, while fine lines and lettering need more room. If you are unsure, start small: a tattoo can be added to later, not shrunk.
Q5What is the best placement for a first tattoo?
Placement guides most often suggest the forearm, the upper arm or shoulder, the outer thigh or the upper back. Pick a spot you can show or cover as you like, with room for the size you have in mind.
Q6How do I know what size tattoo I want?
Print it and look. Set the size in the calculator, print at 100% with the 1 inch test square checked, and hold the paper on the spot. Without a design, use the size check sheet with squares from 1 to 6 in.
Q7What are the names of tattoo placements?
Mostly a body part plus a side: inner or outer forearm, inner bicep, shoulder blade, collarbone, sternum, ribs, hip, nape, behind the ear. The placement names table above sorts them by zone, with the usual size for each.